Learned From Failed GitLab Pipeline Initialization!
Sometimes an 11hr Udemy course takes longer than 11hrs to get through.
Errors in un-updated courses provide lots of what I’ll refer to as “learning opportunities” in the future, but currently refer to as “WTF” followed by more elaborate curse words.
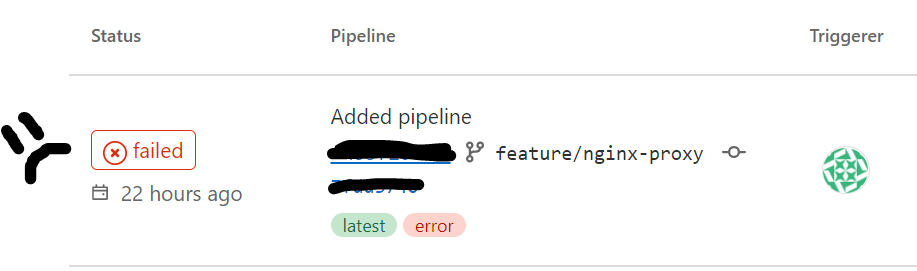
My current error is deciphering why my GitLab Pipeline test failed. I created the Dockerfile, setup an ECR repository in AWS to hold the docker image and setup an program only user in IAM.
Today’s Lesson: How to read error logs on GitLab.
After checking and rechecking my Dockerfile, I realized that my AWS-vault credentials had timed out and needed to be restarted.
After recertifying my AWS credentials, I had to add a brief note to trigger a job to run in GitLab. The way that my project is setup, every time I commit a change to Git, it will run a job on my Pipeline on GitLab.
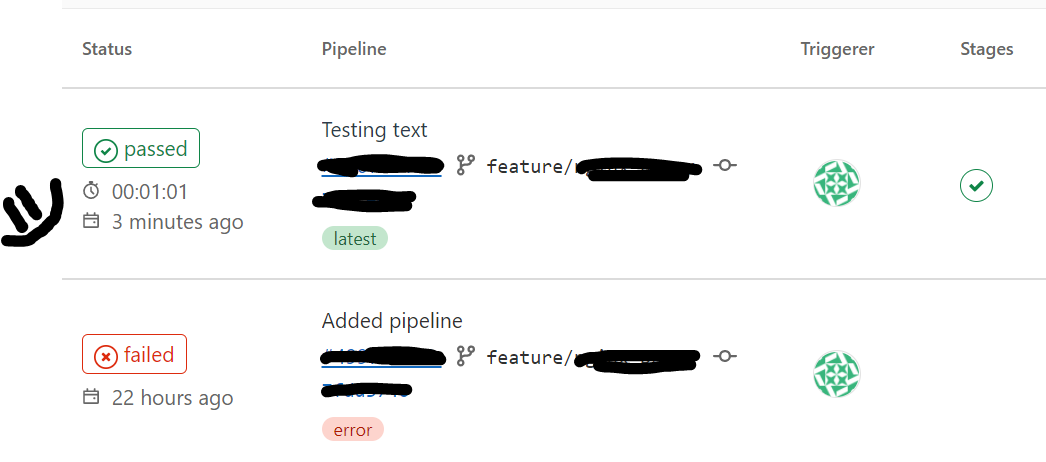
“Job succeeded”

Super happy to see those words. GitLab built my project. The job completed in 1min and 1 second. That time is deducted from my GitLab Pipeline quota. Every time you run a job the duration is deducted from your account. Currently free accounts get 400 CI/CD minutes per month and and additional 1000 minutes for an additional $10.
GitLab Pipeline
After committing files to GitLab via Git commands, GitLab will build the project. You must receive a “passed” result before merging the branches. If you get a “failed” error message, you must return to your project files to fix the error in the build and commit the changes again.
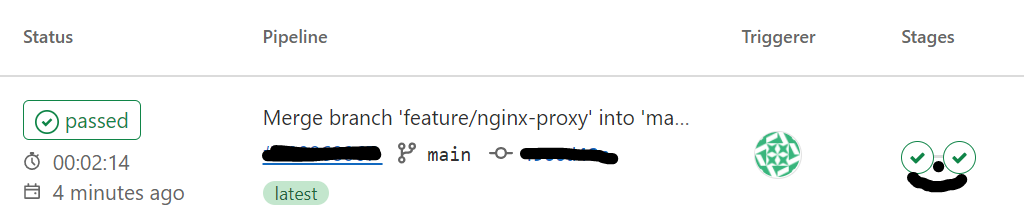
Create Merge Request In GitLab
Once you get a “passed” result you are ready to merge your changes to the main branch. In the CI/CD menu options, you create a merge request to merge the changes to the main branch. Your pipeline will run through the stages again from the beginning.
In a feature post, I will discuss the different stages of GitLab.